FREE COURSES: Winter Wednesdays with the Provincetown Library
Create Your Ideal Top
with Greg Salvatori
Creating a pattern that works
Building on the crucial information and understanding from Week 1, students will start drawing paper patterns, translating flat measurements into 3-dimensional forms.
We are gonna focus on the three main blocks: Front, Back, and Sleeves using a simple base pattern.
TIP: Start by folding your paper lengthwise and draft your pattern, making sure you work with perpendicular lines and perfect square corners of 90 degrees. Use a thin pencil and try to be as accurate as possible. It will make a big difference in the final result.
IMPORTANT: You’re in uncharted territory, and the goal is not to make the perfect pattern here but to take educated guesses. This pattern will give you a foundation, and after your first fitting, you’ll be able to adjust it and make it into what you really want.
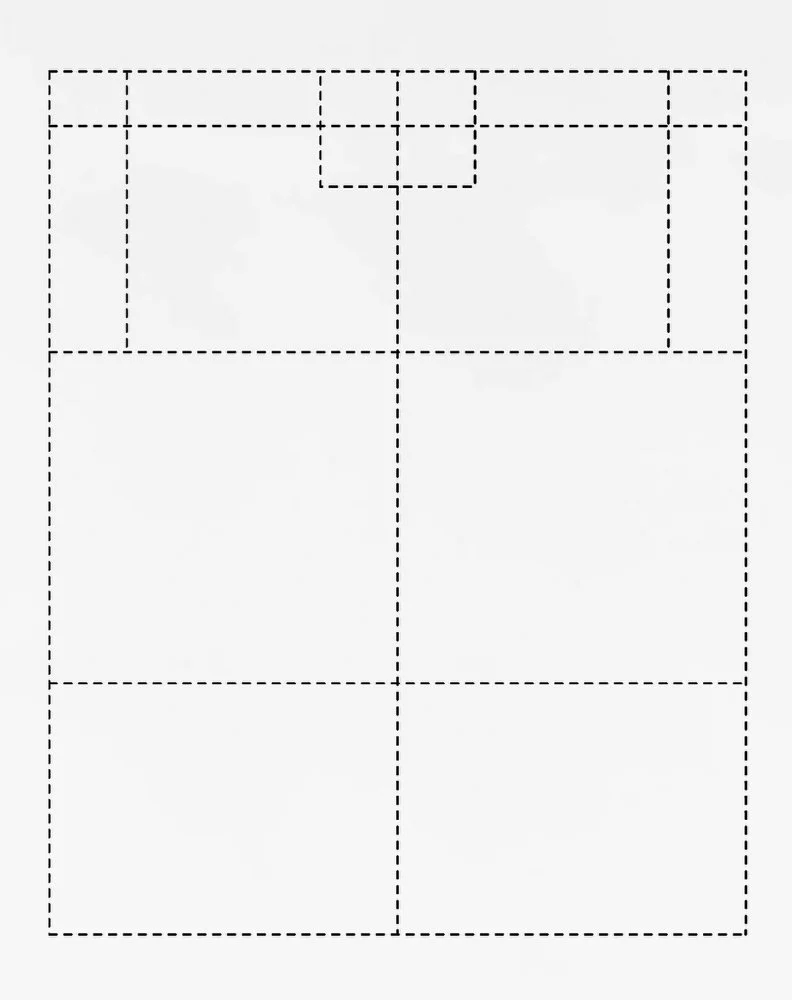
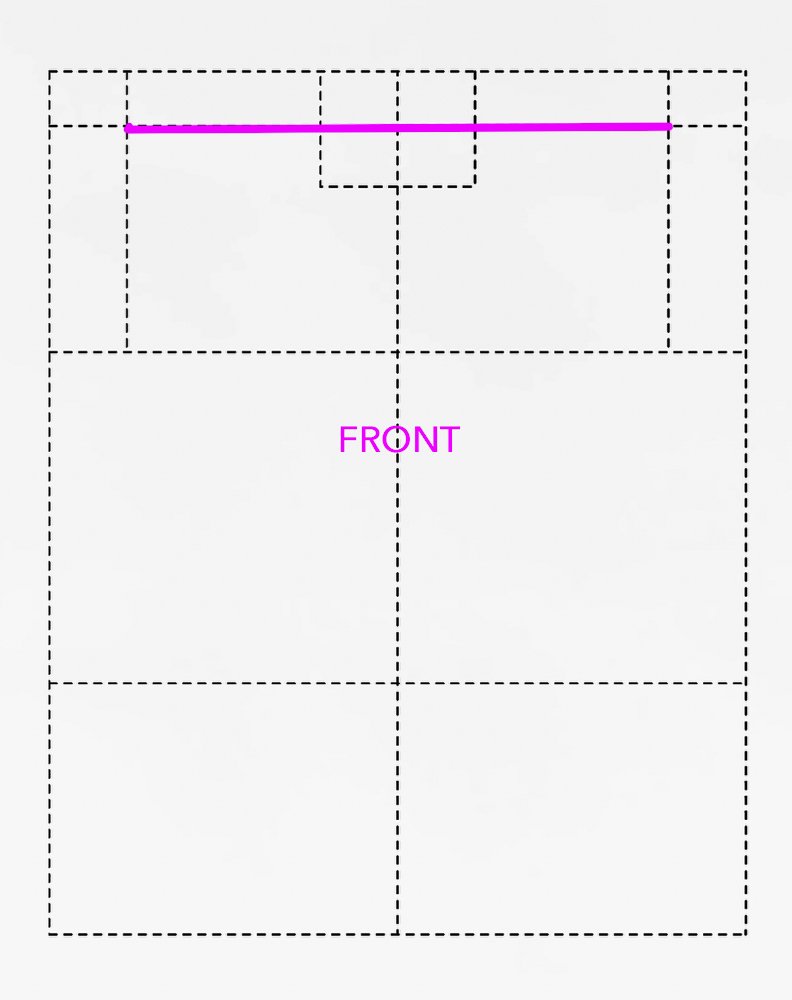
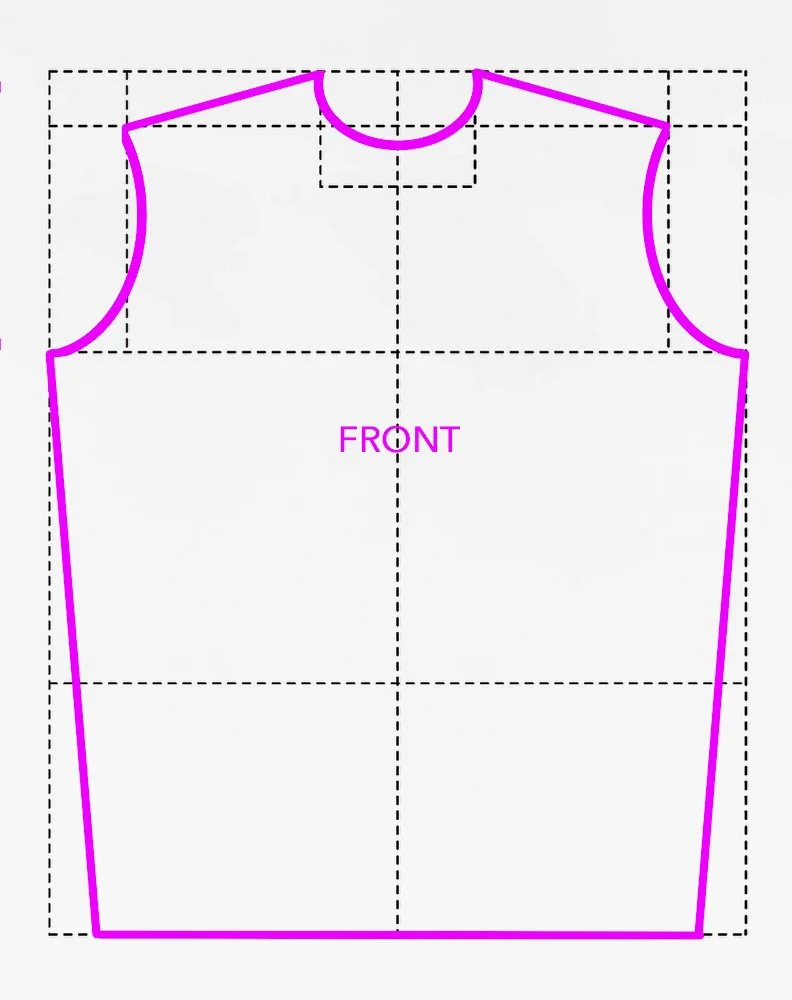
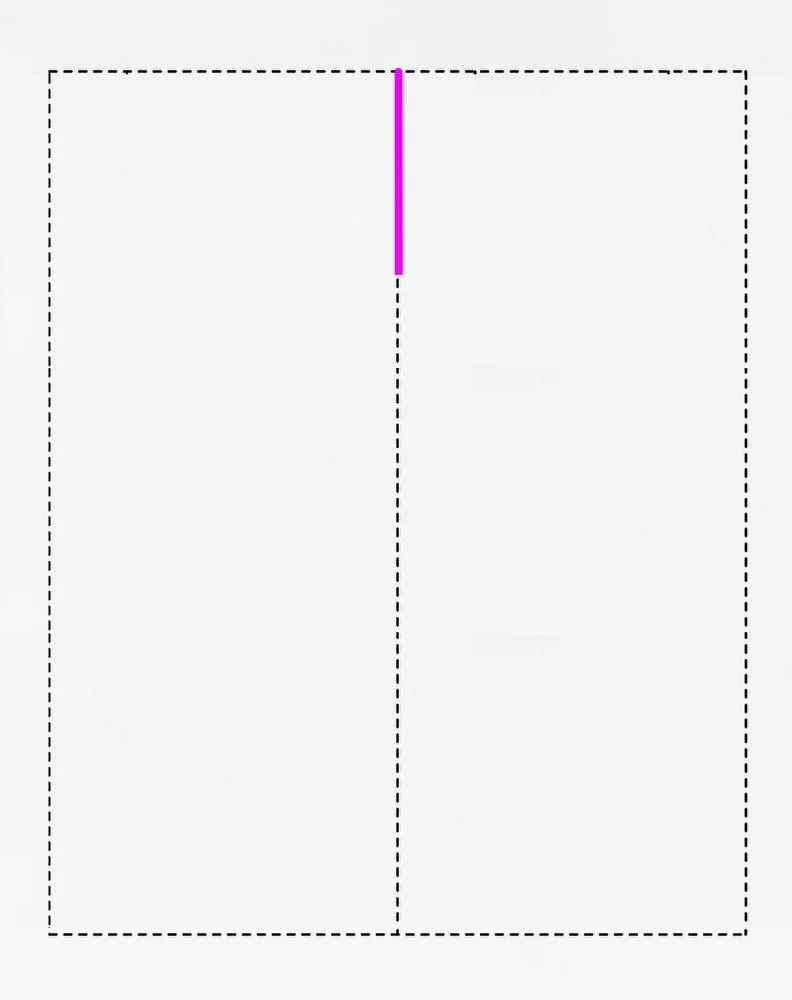
FRONT PATTERN
Shoulder Width
Start your pattern by tracing your Shoulder Width measurement and make sure to stay perpendicular and centered to the main central line/fold.
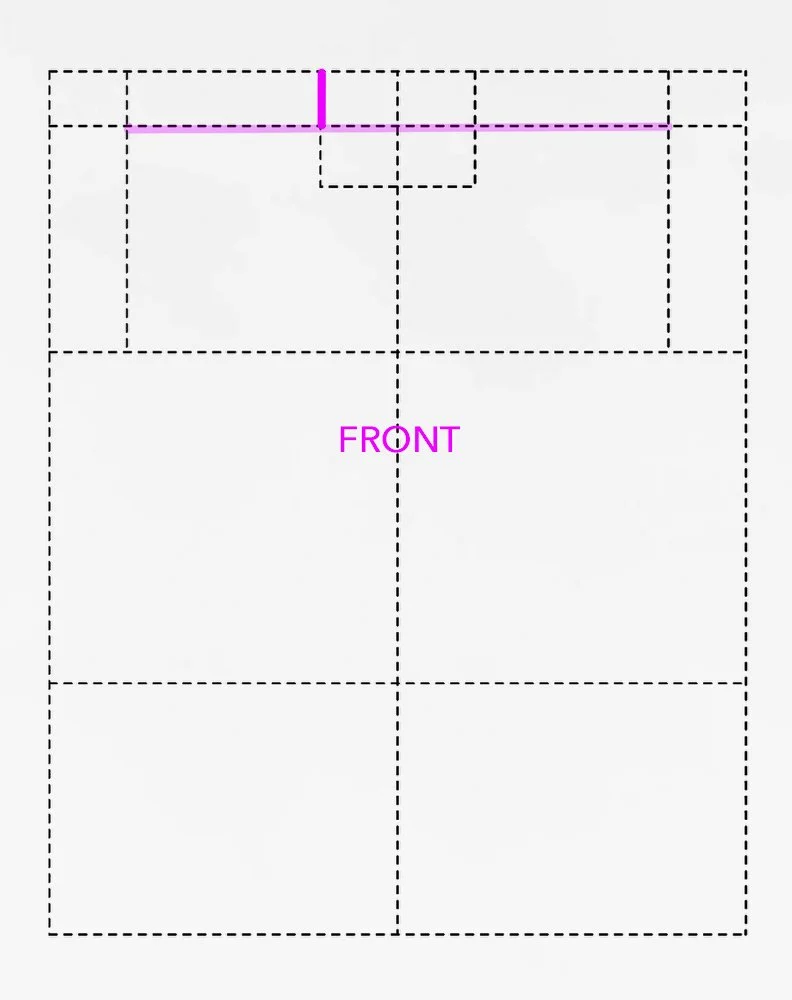
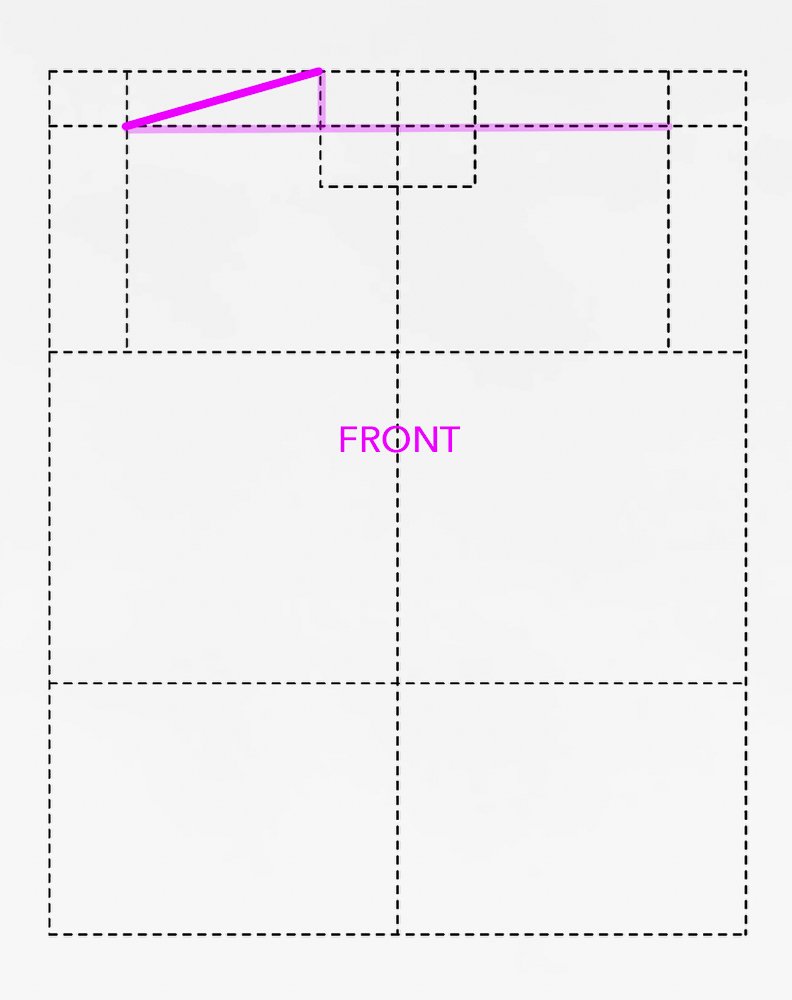
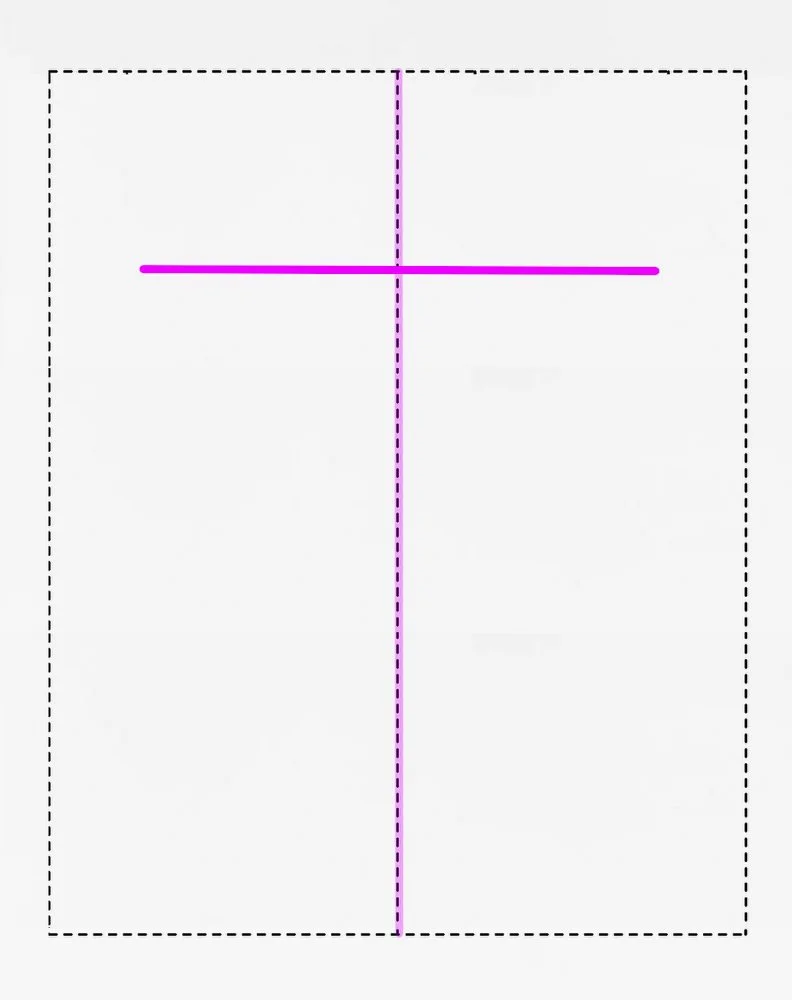
FRONT PATTERN
Shoulder High Point
This vertical measure will give you an horizontal line to be met by the shoulder length, forming a triangle. See next slide to have a clearer idea.
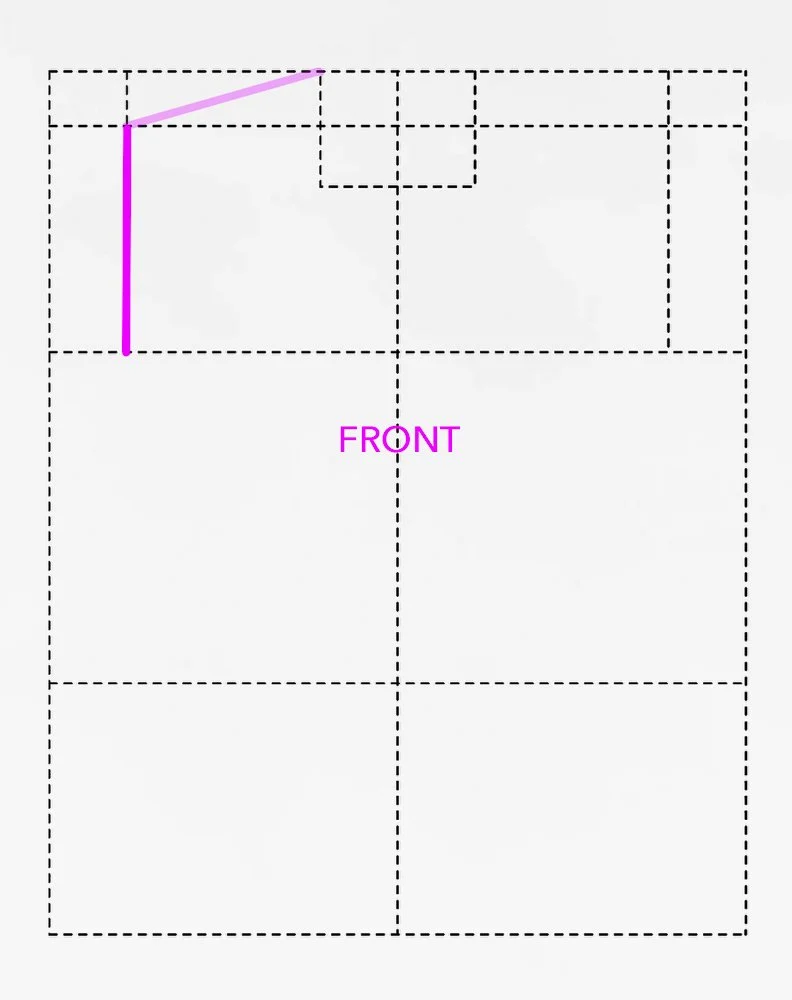
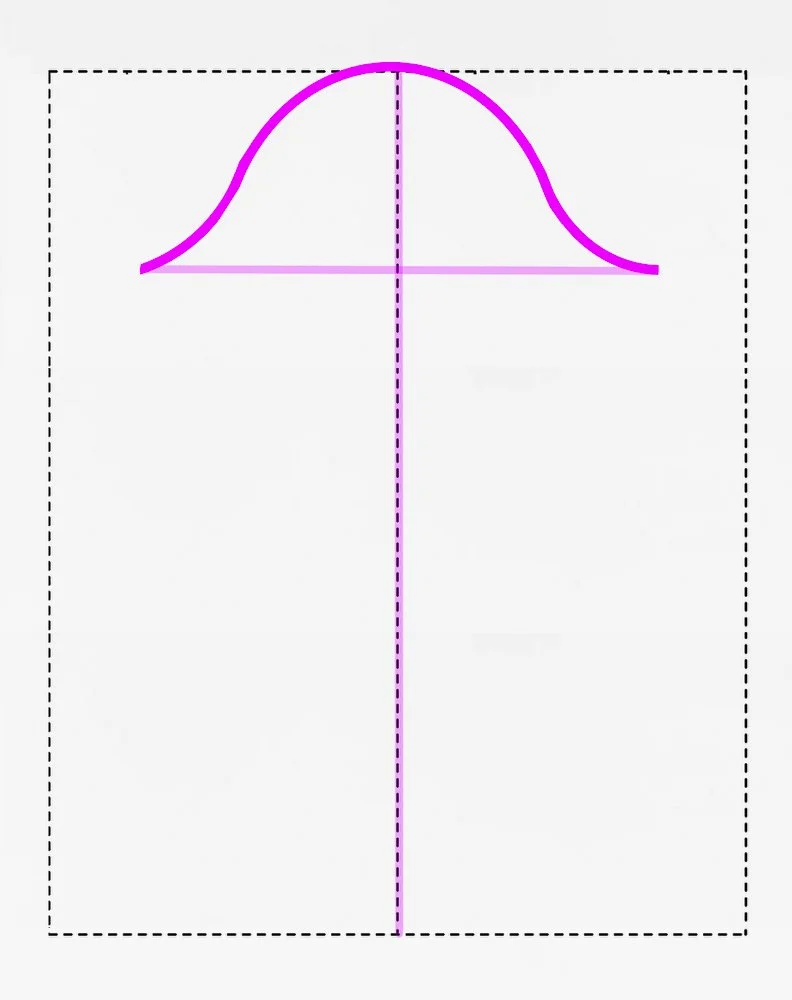
FRONT PATTERN
Shoulder Length
Meet the shoulder tip with the high point. Do this on both sides.
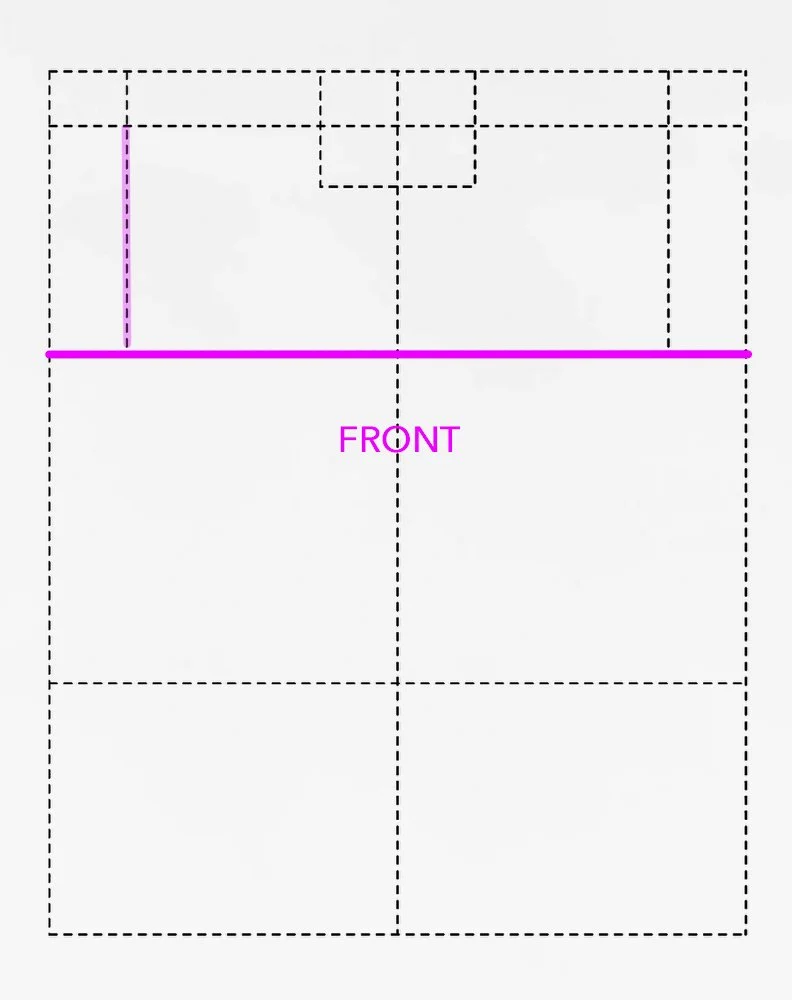
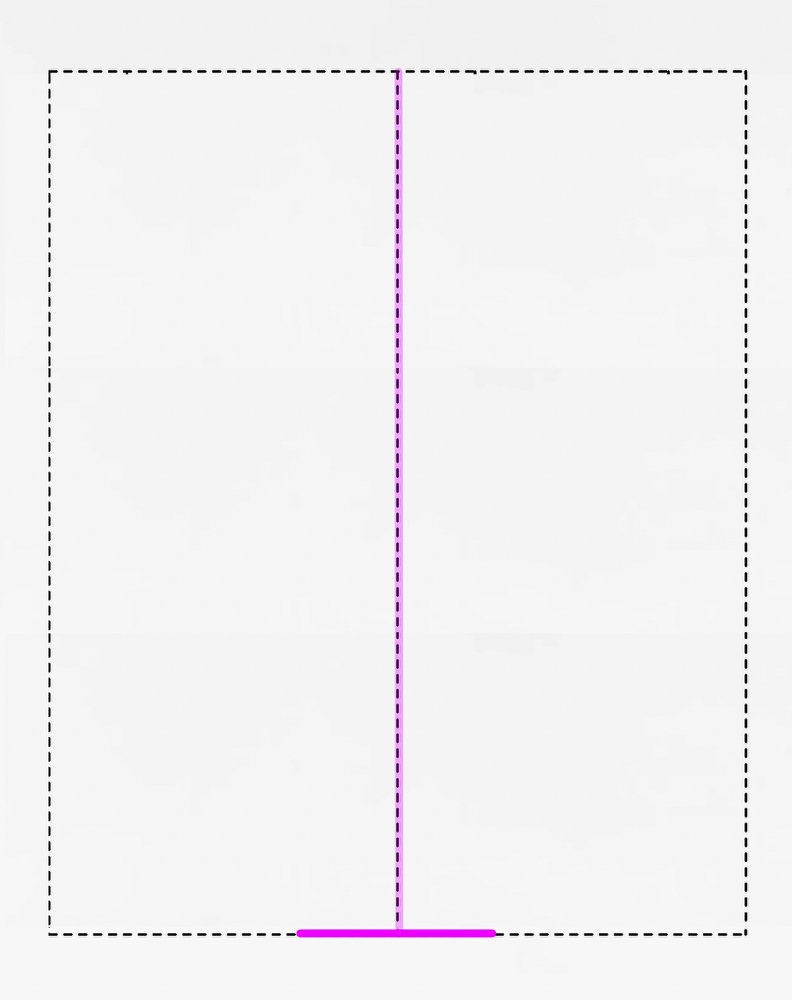
FRONT PATTERN
Shoulder Depth
Use your Shoulder Depth measure to trace a line. This point determines an horizontal line where the armpit and the chest line meet.
FRONT PATTERN
Front Chest
Draw your Front Chest Measurement (part of your Chest Circumference) and make sure to stay perpendicular and centered to the main central line.
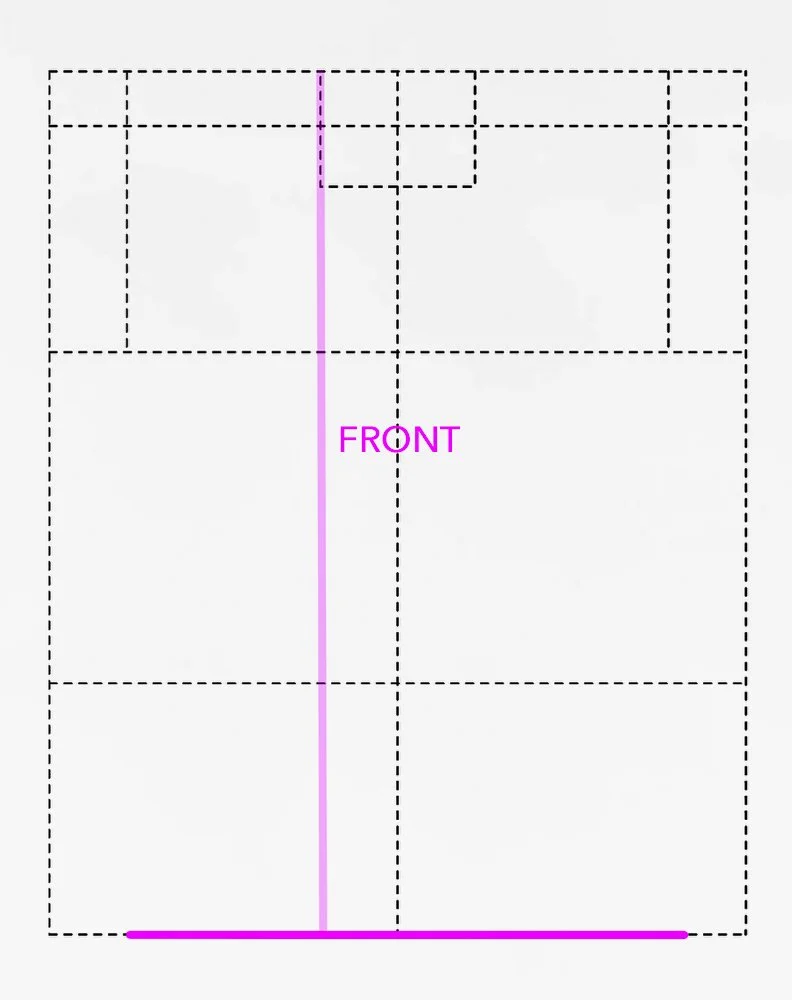
FRONT PATTERN
Front Length
Draw your Front Length Measurement from the side of the neck (the meeting point of High Neck and Shoulder Length). Keep this line perfectly parallel to the main central line.

FRONT PATTERN
Hips / Bottom of the Garment
Draw your Front Hips/Bottom of the Garment measurement (part of your Hips Circumference) and make sure to stay perpendicular and centered to the main central line.
FRONT PATTERN
Connect the Measurement
Draw your neck and shoulders helping yourself with a curved ruler.
IMPORTANT: The shoulder line will need to match the sleeves measurement. Consider this a temporary line for now, you’ll be able to adjust it later.
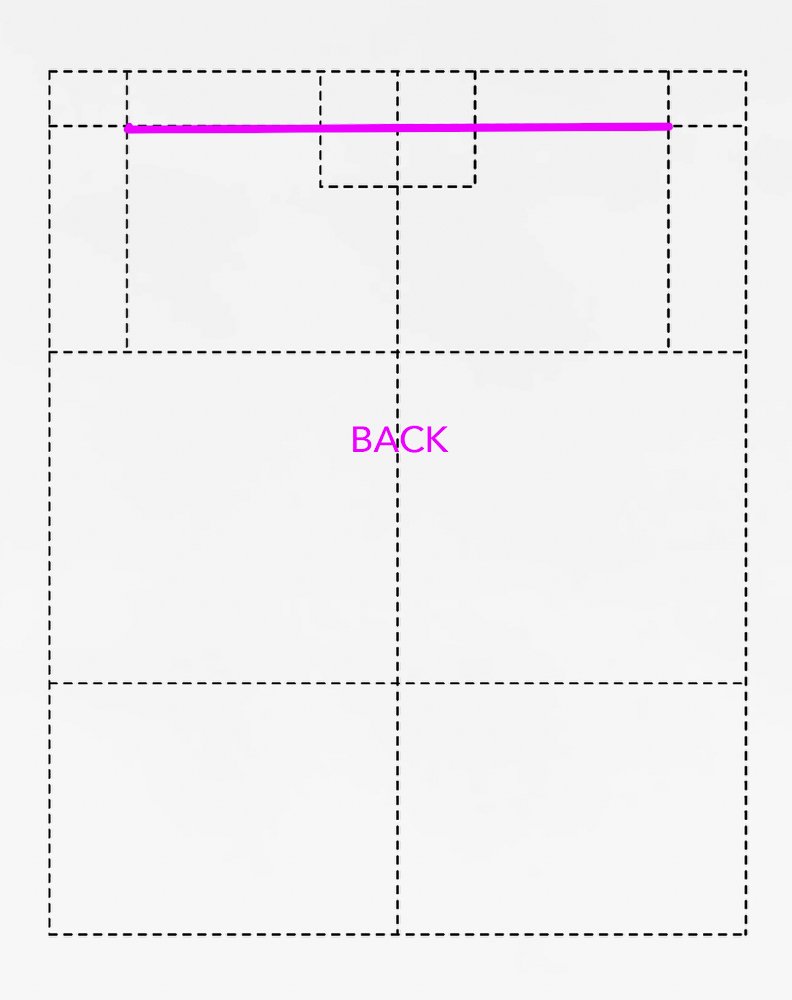
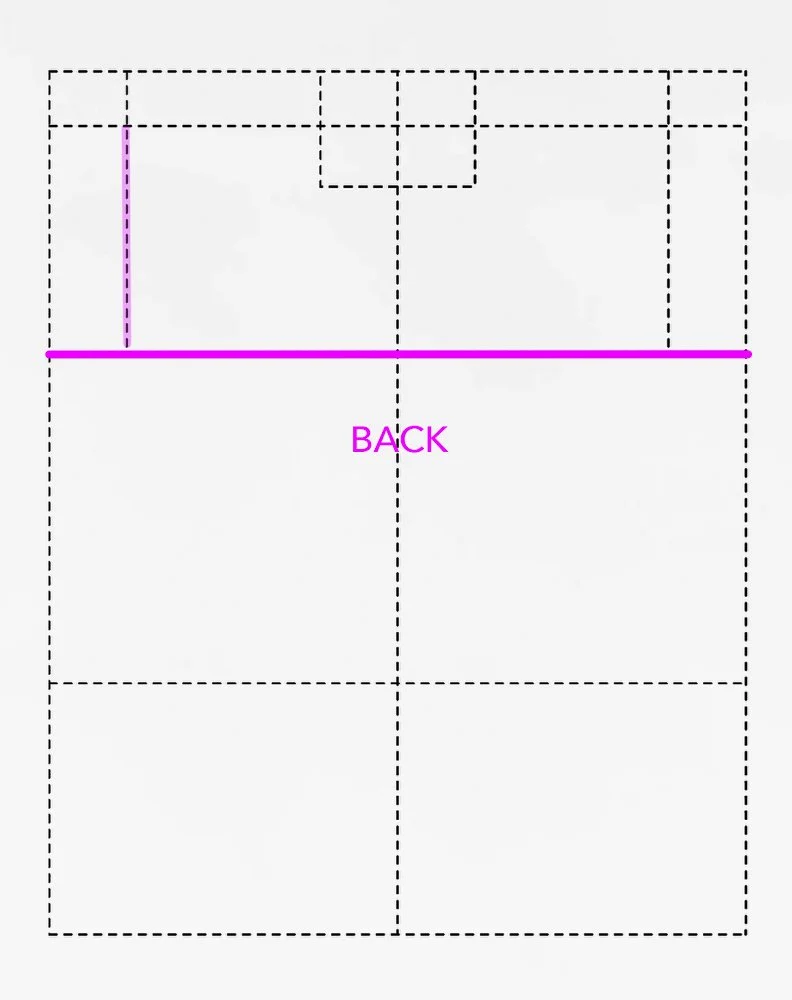
BACK PATTERN
Shoulder Width
In a new sheet, trace your measure and make sure to stay perpendicular and centered to the main central line.
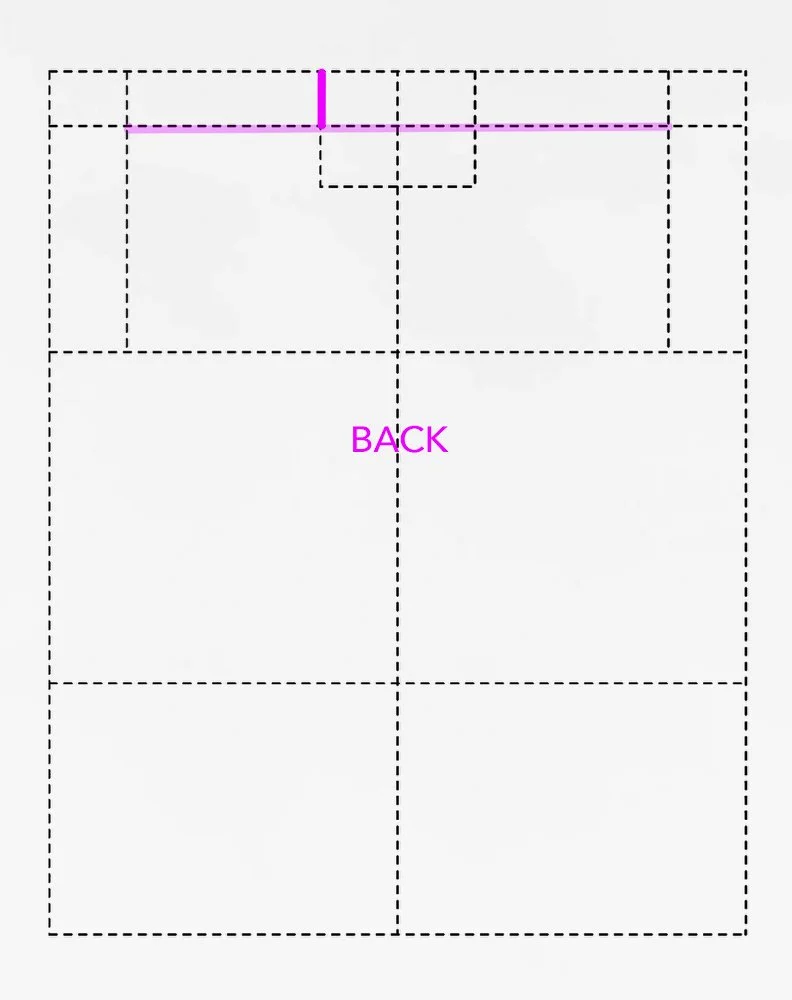
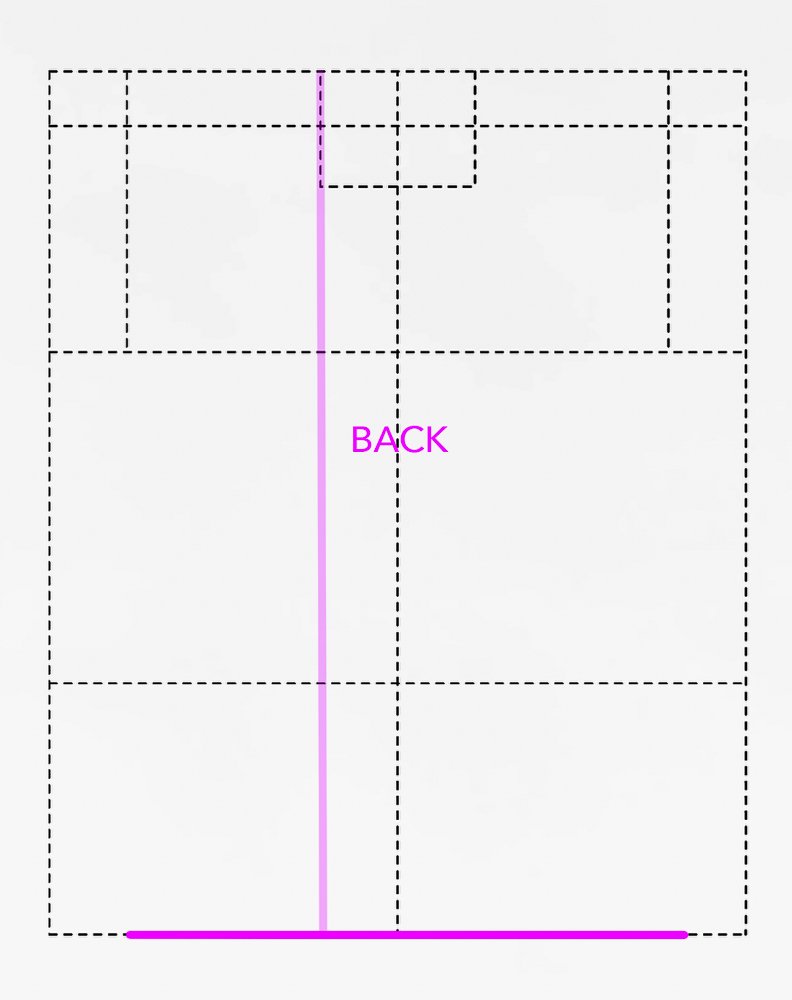
BACK PATTERN
Shoulder High Point
This vertical measure will give you an horizontal line to be met by the shoulder length, forming a triangle. See next slide to have a clearer idea.
TIP: if you’re using tracing paper, you copy this part from the FRONT PATTERN. Just make sure you align the main central line perfectly.
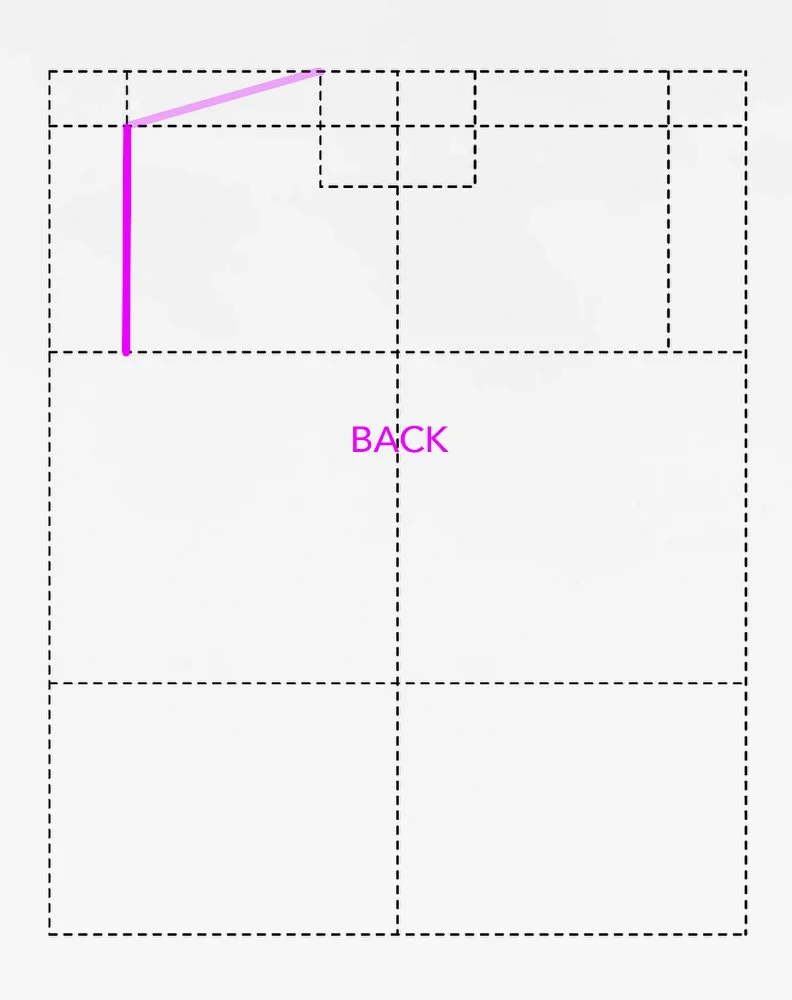
BACK PATTERN
Shoulder Depth
Use your Shoulder Depth measure to trace a line. This point determines an horizontal line where the armpit and the chest line meet.
TIP: if you’re using tracing paper, you copy this part from the FRONT PATTERN. Just make sure you align the main central line perfectly.
BACK PATTERN
Back Chest
Draw your Back Chest Measurement (part of your Chest Circumference) and make sure to stay perpendicular and centered to the main central line.
NOTE: This line is usually slightly shorter compared to the Front Chest one.
BACK PATTERN
Back Length
Draw your Front Length Measurement from the side of the neck (the meeting point of High Neck and Shoulder Length). Keep this line perfectly parallel to the main central line.
NOTE: This line is usually slightly longer compared to the Front Length one.

BACK PATTERN
Hips / Bottom of the Garment
Draw your Back Hips/Bottom of the Garment measurement (part of your Hips Circumference) and make sure to stay perpendicular and centered to the main central line.
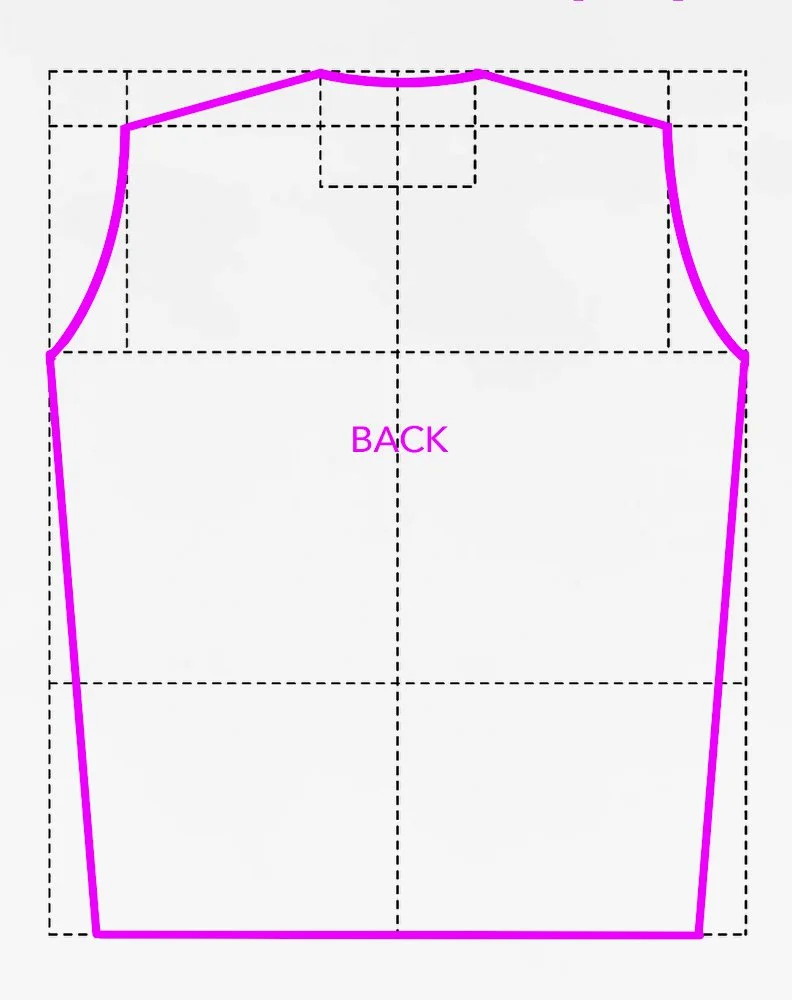
BACK PATTERN
Connect the Measurement
Draw your neck and shoulders helping yourself with a curved ruler.
NOTE: The neck and shoulder lines in the Back Pattern are usually visibly shallower than the FRONT, to match our shape and movement.
IMPORTANT: Remember the shoulder line will need to match the sleeves measurement. Consider this a temporary line for now, you’ll be able to adjust it later.
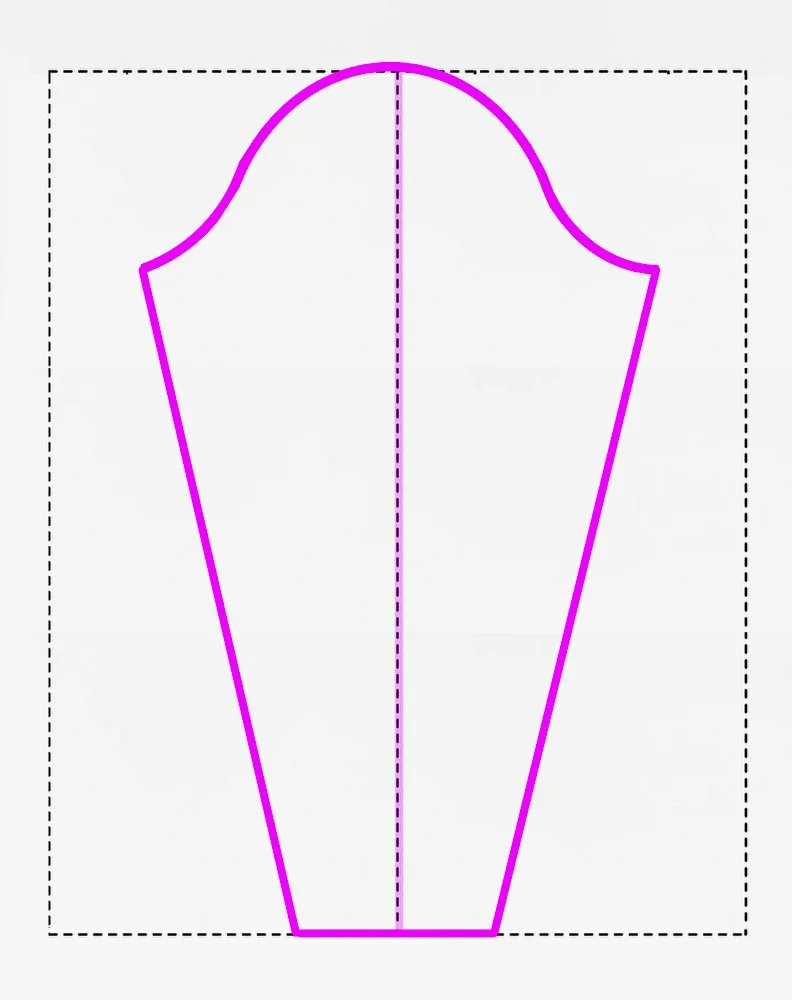
SLEEVE PATTERN
Sleeve Length
Trace your measure and make sure to stay perpendicular and centered to the main central line.
SLEEVE PATTERN
Sleeve Cap
Trace your measure and make sure to stay perpendicular and centered to the main central line.
NOTE: this measure is almost completely arbitrary. it depends on the style and use you want to your garment. A very average measure, and a good starting point, is usually equal to one third of your Armhole Circumference.
SLEEVE PATTERN
Sleeve Width
Draw a line representing the width of the sleeve in its larger point (reference your Bicep Measurement and your Armhole Measurement).
TIP: A very easy and common way to decide the width of a sleeve is to take the Bicep Measurement and add 2/2.5 inches.
NOTE: The style you chose for you garment makes a big difference here. A tight fit, a stretchy and athletic top, or a fashionable silk blouse will be wildly different.
SLEEVE PATTERN
Shoulder Circumference
Trace the shape of your shoulder according to two main parameters: the type of shoulder you want for your garment and the difference between the front and the back of your measurement.
IMPORTANT: Remember this shoulder line will need to match the sleeves measurement.
SLEEVE PATTERN
Wrist
Trace the shape of your shoulder according to two main parameters: the type of shoulder you want for your garment and the difference between the front and the back of your measurement.
IMPORTANT: Remember this shoulder line will need to match the sleeves measurement.
SLEEVE PATTERN
Connect the Measurement
Draw your connecting lines and the sleeve takes shape.
IMPORTANT: Remember most fabric have a “Right Side” or “Face” and a “Wrong Side” or “Underside/Back.” Make sure you flip the pattern when cutting the fabric or you’ll be left with two right or two left sleeves!