
FREE COURSES: Winter Wednesdays with the Provincetown Library
Create Your Ideal Top
with Greg Salvatori
Reconciling, cutting, and assembling the garment
Students will reconcile the pattern pieces, trace them onto fabric, cut out the pieces, and assemble a first mock-up (muslin).
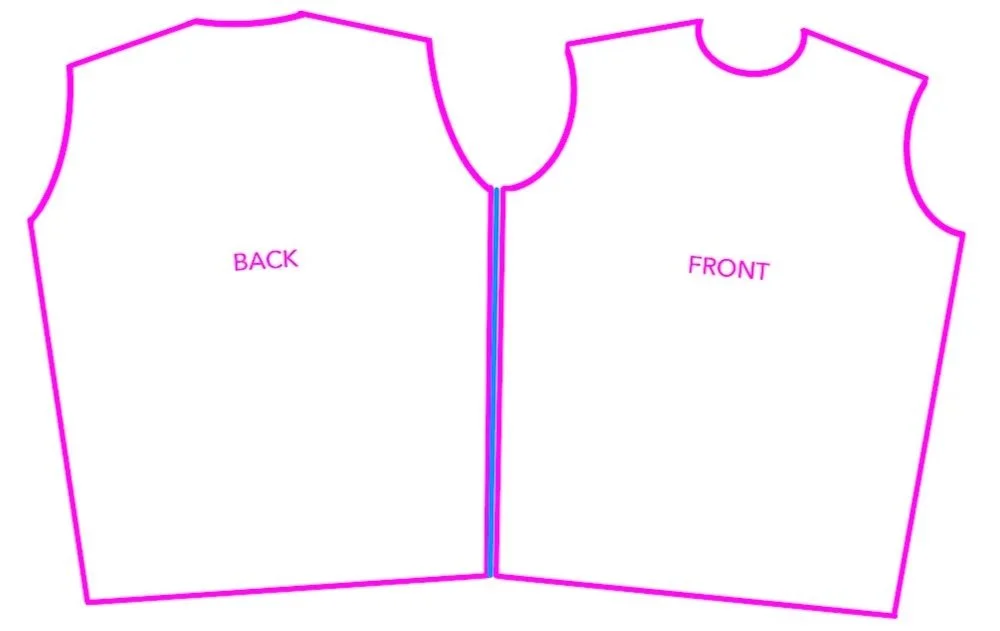
Reconciling Your Pattern
1. Matching side length under the arm
2. Matching shoulder length
3. Matching armhole and sleeve curve
Cutting Your Pattern
Assembling the Mock-up
Reconciling your pattern
1. Matching side length under the arm
Start from the bottom hem and match the side seams of the Front and Back pieces. If you find a length difference, decide whether to average the two lengths, clip (shorten) the longer side, or extend the shorter side.
Note: Always start matching from the bottom (hem). Starting from the top can accidentally remove or create unwanted length differences between the Front and Back.
Tip: It is very common to shorten the Back side seam or lengthen the Front side seam. This adjustment lengthens the back portion of the armhole curve, allowing the extra length in the Back to be distributed higher up where the body curves toward the neck.
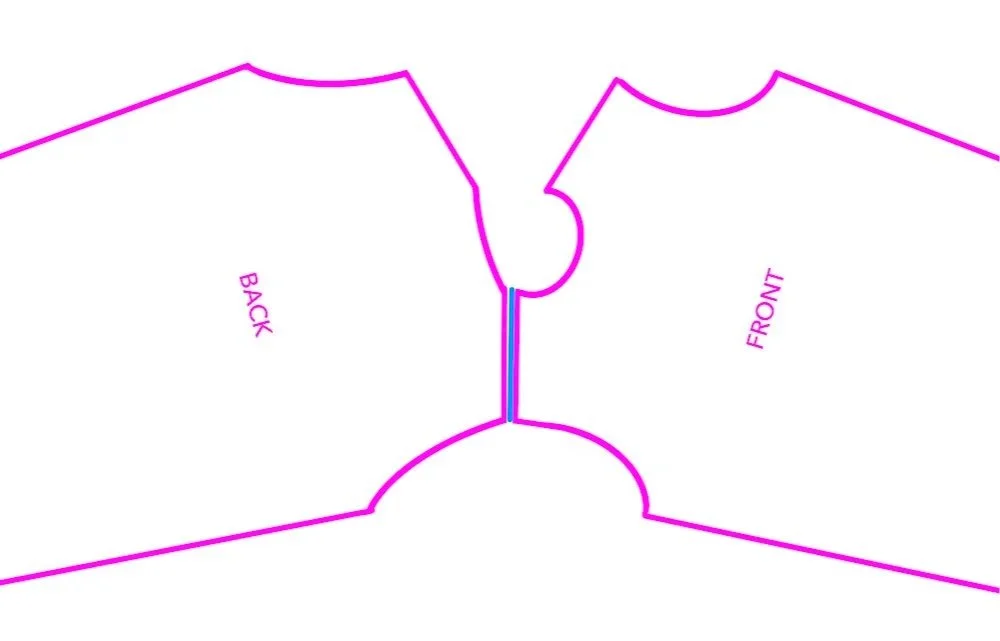
Reconciling your pattern
2. Matching shoulder lengths
Starting from the outer shoulder point (shoulder tip), match the shoulder seam lengths of the Front and Back so the neckline will be continuous and even.
Note: A simple round or V-neck is usually straightforward, but the more complex the neckline (e.g., hood, asymmetrical design, cowl, or draped collar), the more critical—and sometimes challenging—this step becomes.
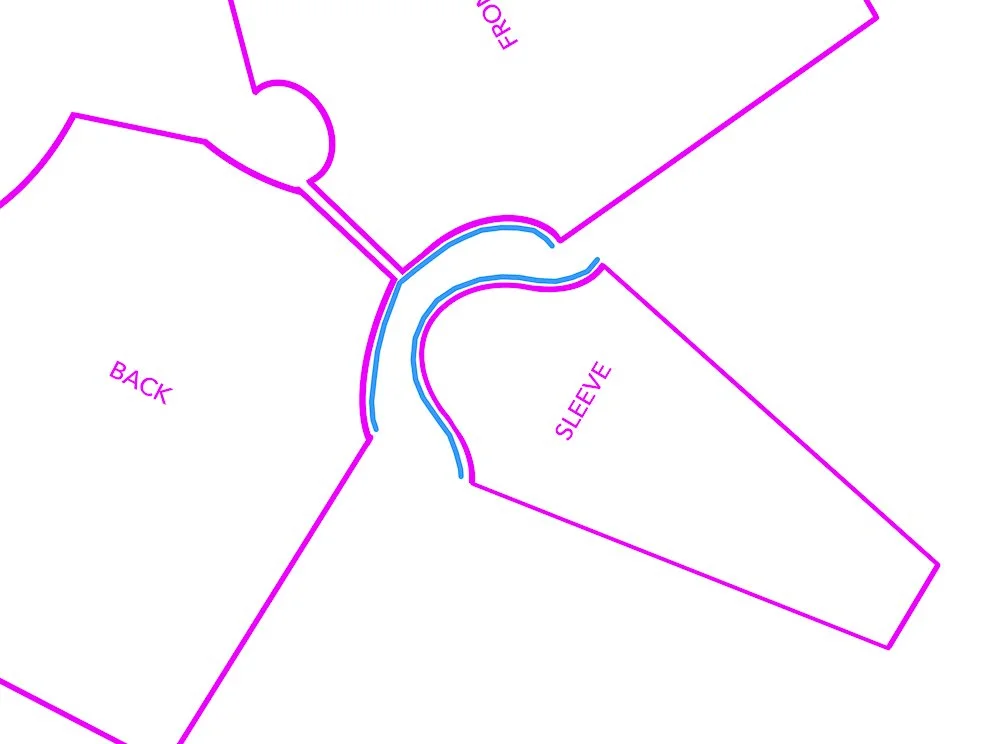
Reconciling your pattern
3. Matching the armhole and sleeve cap curves
With the Front and Back patterns aligned at the shoulder, “walk” a measuring tape (or flexible ruler) along the combined armhole curve (Front + Back). Record the total length.
Then measure the sleeve cap curve and compare. Adjust the sleeve cap (or occasionally the armhole) to match.
Important: You can average the lengths, extend, or clip—but never go smaller than your minimum required measurement, or the armhole/sleeve will be too tight to wear comfortably.
Tip: If you need to add length, adding about ½ inch (1–1.5 cm) to the sleeve cap often works well. The extra ease can later be distributed (“eased in”) when setting the sleeve, resulting in a smoother, more professional shoulder.
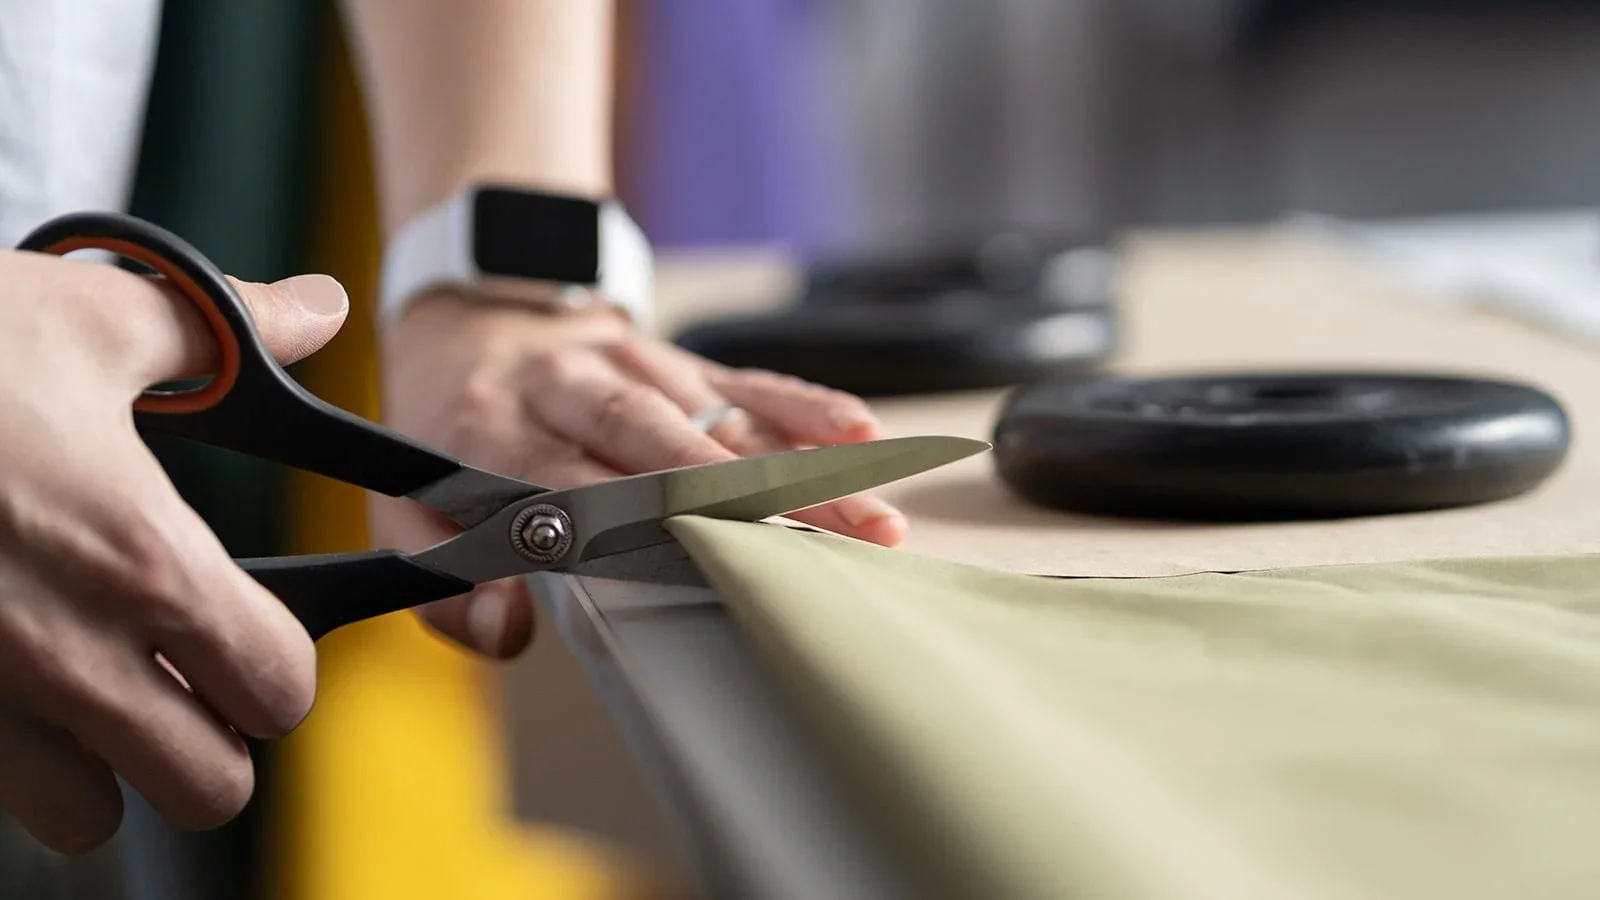
Cutting your pattern
Position the pattern pieces lengthwise along the fabric grain (unless the design intentionally uses a crosswise or bias layout).
Secure the paper with pattern weights to prevent shifting. Take your time when cutting—the more precisely you cut, the better the final fit and appearance.
Tip: Press the fabric flat beforehand, especially cotton, linen, or other fabrics that crease easily. A smooth surface makes cutting much more accurate.
Assembling the Mock-up
Assembling the Mock-up
Sew the shoulder seams first and create an open armhole on each side, then identify the correct sleeve (sleeves usually have a distinct front and back—check notches or markings).
Pin at both underarm points then ease in any fullness as you work toward the center (sleeve cap top). Pin the side seams of the Front and Back (including underarm area) and the underarm seams of the sleeves.
To minimize shifting and bunching while sewing, start at the underarm and stitch outward along the sleeve (armpit → wrist/cuff) and downward along the side seam (armpit → hem).